


images . tips . bedtime story
Taking your own photos for Substack? Here are a few simple tips to help your images shine — with good composition, strong contrast, and just the right touch of clarity. Let’s dig in.

Trust your photographs to help tell your story. Your decisions will be different from mine and that is a good thing. That’s why I want to see what captured your eye today.
How to take beautiful photographs for your post with an ordinary camera
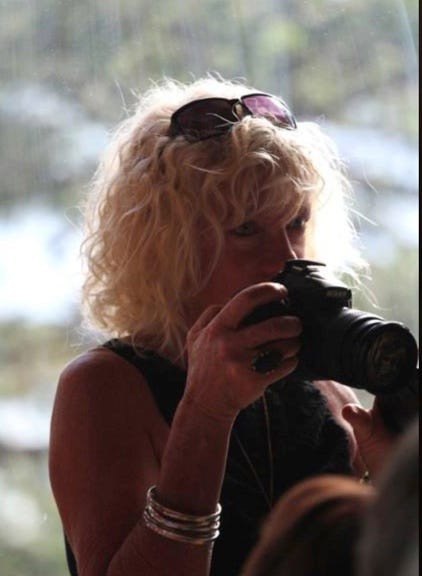
I am an ordinary photographer, with an ordinary old Nikon. And an ordinary old phone. Nothing special. No fancy pancy. People say to me “How do you do that? You must have a really good camera?” As though the camera took the pictures by itself! 😂 So I thought I would jot down a few of the things I have learnt about taking photographs.
Because I want to see your images too. AI is lovely for decoration. Your images will tell me something about your story. They bring authenticity.
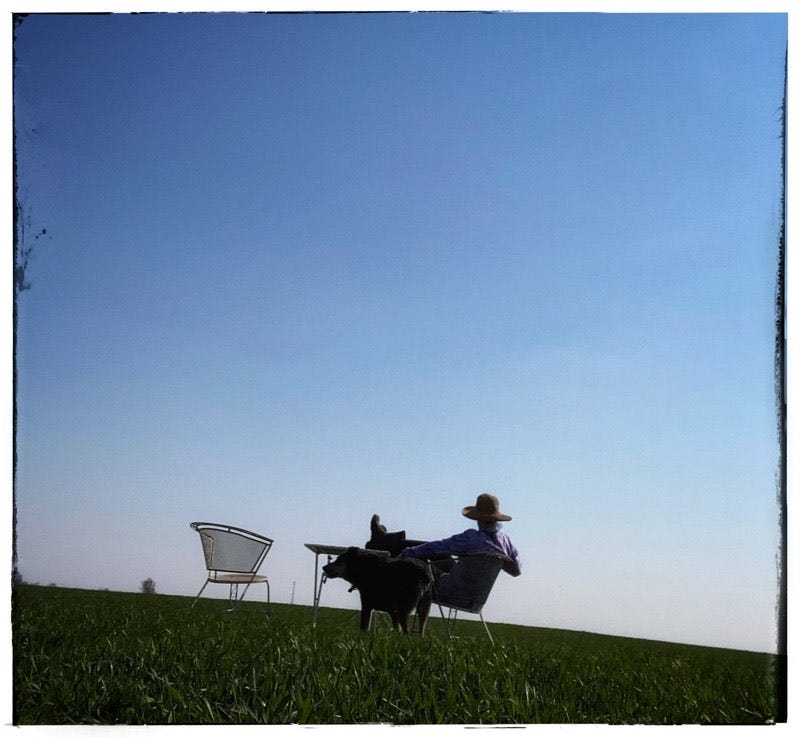
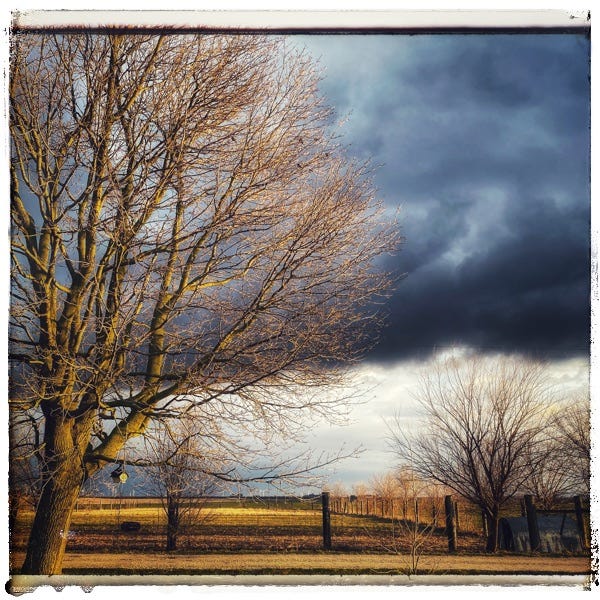
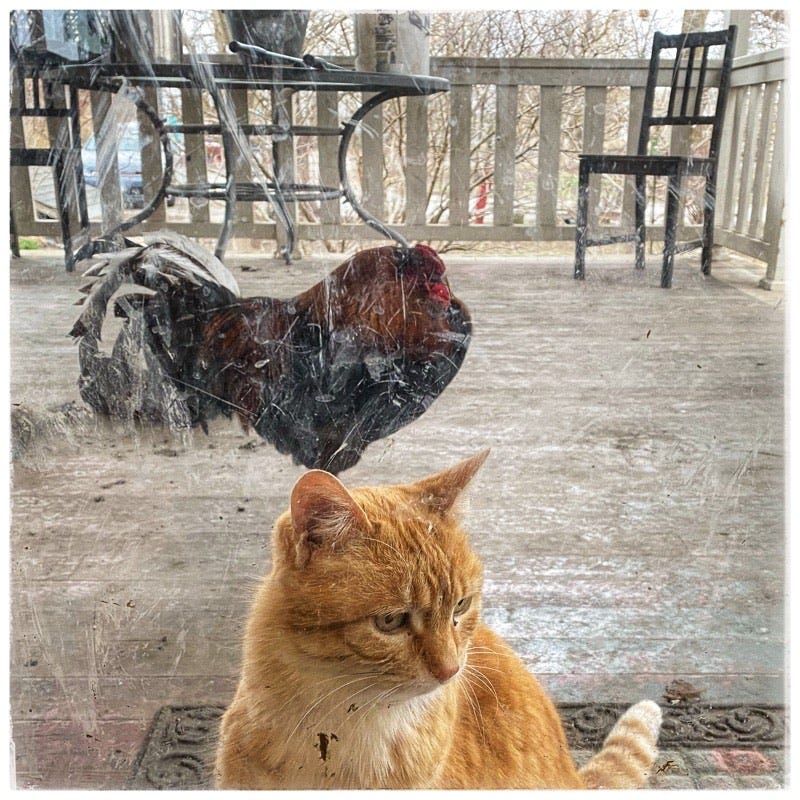
I do not know everything about photography. I don’t want to sound arrogant. I am 65, the first time I was paid for a picture was when I was 14 and it all blossomed from there. Yet I am still learning. I am going to add a few old shots from a Route 66 holiday years ago, merely to entertain your eye on the way, and help tell this story. Though there might be a rooster and maybe a cat!
Sometimes a picture makes all the difference.

Taking a good shot for your pages is very simple if you THINK as you shoot. I am not talking about Food Photography – that is not my forte. (All I know about food photography is to have natural light, a pale background, no clutter, a prop, sharp focus. I am still learning that too. But that does not stop me taking photos to accompany all my recipes).
What I want to talk about today is the photos of your streets, and your flowers, your animals, your mountains, your gardens, your buildings, your people and your stuff. The ugly and the beautiful. You are surrounded in some wonderful, individual, very special images that only you can see. You will interpret them in your own particular way. So don’t be afraid. Come out and play. Show us. Document your environment for us.
You do not need a fancy camera to create a good photograph. You don’t particularly need Photo Shop either though it is a useful tool. Something like SnapSeed ( free app) will make a good shot better, and a fantastic shot awesome; a crap shot will still be crap. So let’s take a minute. Ask yourself what you want me to SEE.
Then use C’s Three C’s.
Composition.
Contrast.
Clarity.
Study other peoples photographs thinking about composition, contrast and clarity. I personally like to study news photographs, because these are very seldom taken in a studio. They use available light. They have limited time. There is often movement. There is very little dressing done to the location. And the images have to tell a story. So study them, get a pen and divide the image into thirds -horizontally and vertically and look at that photographers choices. Look at the focal points, the subject the contrast. Look at the light.
The photographer is often forgotten when we view an image but thinking about where they are standing adds another dimension to a shot.
Now think about Celi’s Three C’s.
Composition
Contrast
Clarity

1. Composition.
Divide your composition into those three sections vertically and horizontally. You will have four lines and nine boxes. Think about where you want your subject to sit in your grid. Your focal point needs the best light and the focus. Your viewers enjoy symmetry. It lends an ease to an image. I tend to compose with the subject in the left third looking into plenty of space or the right third looking back. You may prefer a central image like the one above. But make a decision.
Think about different levels. I almost never take a shot standing, unless I am standing on top of something to get height. When you are buying shoes you stand in front of a low mirror – looking down on them does not give you the best image so the low mirror will reflect the shoes at its level. So crouch, or lie down, or climb a tree. Or do all three. Lean to the side. Please stay out of the gutter and try to stay clean, unless you simply must get filthy in pursuit of the perfect shot. And do not stand on the car if your husband is watching. Otherwise - yep - go for it.
Look at the background. Ensure that your horizon and the lamp post are both absolutely straight. Use your grid for this. Be fastidious about this. Always give me one clear line to hang the image on. Unless you really want everything to be mis-aligned or on a diagonal to agitate the viewer. I was trained by Dad on the beach, taking shots of the sea. Out there on the prairies it was the same. Any tilt in that horizon ruins a shot. An off kilter roofline kills it. Or maybe not?
Maybe that is the story you are telling and that is your intention.
Your unconscious eye looks for balance. As do the eyes of your viewers.
The line of the ceiling, or a fence or a kitchen wall. Even a tree. So straighten that horizon before you shoot. Now look and make sure there is not some stray object in your background. You don’t want something growing out of the head of your subject. Unless of course - you do. (See far below for the cat and the rooster).
Get close to your subject. Allow your subject and their environment to fill your screen. If you are unable to crop your image later then crop with composition. Maybe only a quarter of the image is more dramatic. Get closer as long as you do not compromise your clarity. Keep thinking, take risks make risky decisions.
Use foreground. Sometimes shooting a landscape with something in the foreground like long grass or a tree or the corner of a building immediately creates depth.
Allow room for the eye to travel into the shot. My mother was an artist. A painter. In fact when we were little she set up a child’s play pen, and sat herself in the playpen so she could paint while we played, without anyone knocking into the easel. Anyway she told me when she painted a landscape that she always gave the viewer a gap, or winding path or open gate so that their eye could walk into the scene and rest there. And all four corners should be different. She died when I was a young mother after a long battle with the cancer and so I remember these things.

2. Contrast
It is all about the light. Back lit is dramatic. Side lit is nostalgic. Heavy white cloud adds depth to colour. Light does all kinds of fabulous stuff. So look at your light source, usually the sun, and use it to your advantage. Look up, look across and look down!! Study your light. Remember that light reflects. How will you capture it.
You want a contrast between light and dark, soft and strong, textured and flat. I know this sounds simplistic but it is a major decision. Focus on the area that you want to be clear and well exposed. Allowing the rest to go darker or lighter. With a little snappy snap camera or a burner phone you still have choices.
Natural light is always going to be better. Avoid a flash unless you can set it on low or direct it into a reflector. A flash flattens your subject. I hate flashes. I want to see your light. You all know that I prefer late afternoon or early morning. Lovely low winter light is my favourite especially with animals and faces. Natural light is essential for food. Kitchen lights make your images yellow. Turn them off. Move your subject closer to the window.
Position yourself to take advantage of your light. Once again. Look up, look across, look down. Where should you be to take advantage of the light. “You’re in my light!” was heard shouted frequently in the big house at the beach where I grew up. If you are inside in low light, secure the camera so it is rigid (tripod, pile of books, whatever)and adjust your settings for low light. But do not stand in the light!
My Dad told me where there is light there is a photograph. I have never forgotton that.

3. Clarity
Chase crisp sharp images. Use a tripod or as I often do, lean your camera or phone on the camera bag, or on a bucket, or on the side of a door, a salt cellar, a wall, fence or the car (as long as the motor is not running) or hay bale or fence post, straight onto the floor, even a shoulder if you have a spare one lounging about. Tight and Still.
My Dad would say to take the shot on the end your slow OUT breath. Camera shake is a thing.
Clarity is as much about focus as it is clarity of the mind. What captured your interest - get that subject in focus. What are you trying to tell me with the picture. Ensure that the subject is sharp. If it is an animal or person close up; focus on the eyes. Wait to get your focus before you fully depress your shutter.
Release the shutter and wait for a second. Look at what you have done. Do you need to do that again? Many shots are ruined or lost by depressing the button then running or turning. (Me - I do that - I work like a border collie). Make sure your work is in focus and the best you can get before you move to the next shot. (The joys of digital). Slow down. Later, look at your shots with a tough eye and delete, delete, delete. Don’t waste your time on rubbish, go get the good stuff. There is no point in using valuable space to store a shit image.

Practice. Go for a walk with intention of capturing good shots. I was talking to a jazz player once. I asked him how he learnt how to play this jazz with such accomplishment. He said he studied classical music in Paris (somewhere posh) and once he thought that he had a thorough understanding of the principles of good music (and this took years), he took some of the rules and broke them, creating his own form of jazz. Classical guitar to jazz. But he said he could not have broken the rules in the right places without knowing the music first.
He is best remembered for playing the guitar so drunk leaning his chair back onto its back legs, the chair fell over backwards and he continued to play from his chair, even though the seat back was flat on the floor with his legs in the air. Feet tapping the air. A consummate musician.
So look up, look across and look down. Practice seeing. And keep shooting until you start achieving your objectives.

Because there are times you have to rely on luck and training. You might walk around the corner, surprise a surprise subject and relying on intuition and hope you get one good shot. See above! ⬆️
So, find a shot you love, draw the grid and study it using Celi’s three C’s. Composition. Contrast. Clarity. Then get that old camera out of the drawer and start shooting. Then shoot some more. Every time we get something wrong, it helps us work out how to get it right next time.
Take good note of the failures, they are important learning.
Then do it again. Then show me.
And remember you do not need a fancy camera. Or a particularly fancy phone. You just need you, your eye, and a plan.
Pictures really do tell stories. And sometimes the story is in the picture with the least technical excellence. Choose that one. A cat with a rooster growing out of his head. This shot always makes me laugh. You too?
How often do you spend with your phone deleting the crap shots? So the good shots can shine.
celi
BedTime stories - Oscar Wilde The Canterville Ghost
The Canterville Ghost by Oscar Wilde narrated by Cecilia Gunther

"The Canterville Ghost" is a humorous short story by Oscar Wilde. Described as a novella and written in 1887 it was one of the first of his stories to be published. He was 33 at the time. It is a rat…
Drop a like as you pass - ⬆️ this is a brand new page made for you.
Excellent advice and stunning photos. I love the one of the caravan.
All I want is the perfect camera